Creating a Live View
What is a Live View?
A live view is a way to provide real-time interactive access of your browser to your users. You can use a live view to support a range of use cases, including:
- Authentication workflows
- Human / AI training use cases
- Human in the loop workflows
How to use a Live View
Step 1
Once you have a session and have loaded a url in a window, you can request a live view URL from the API.
If you’re using Puppeteer, Playwright, or Selenium, you can use framework specific getWindowInfo variants.
Step 2
You may load the live view URL in your browser, or more likely, embed it in your application as an iframe.
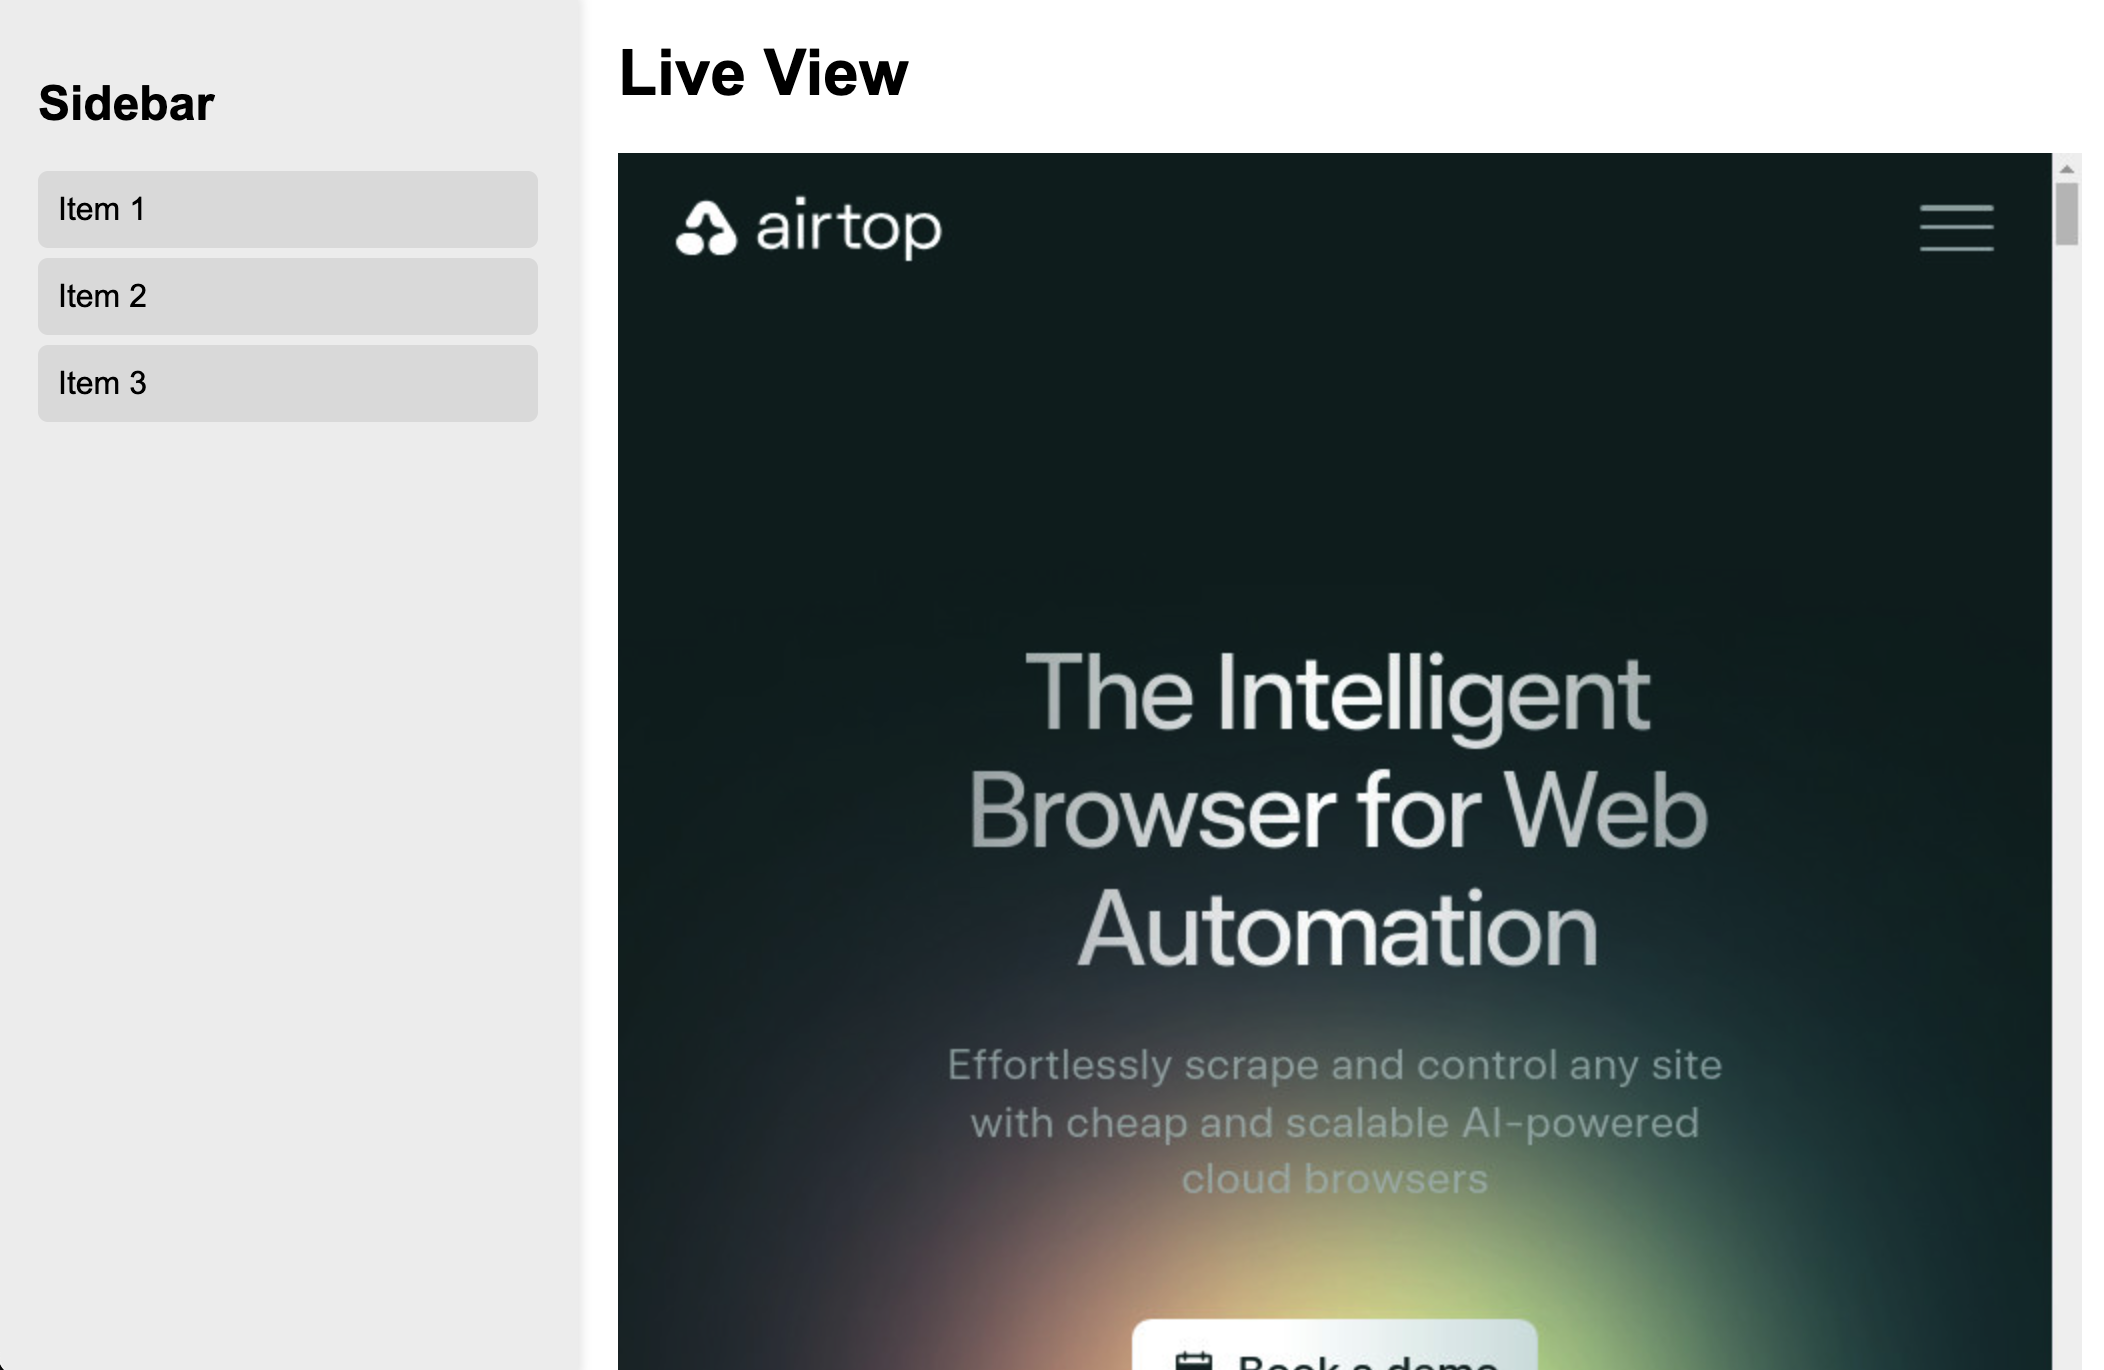
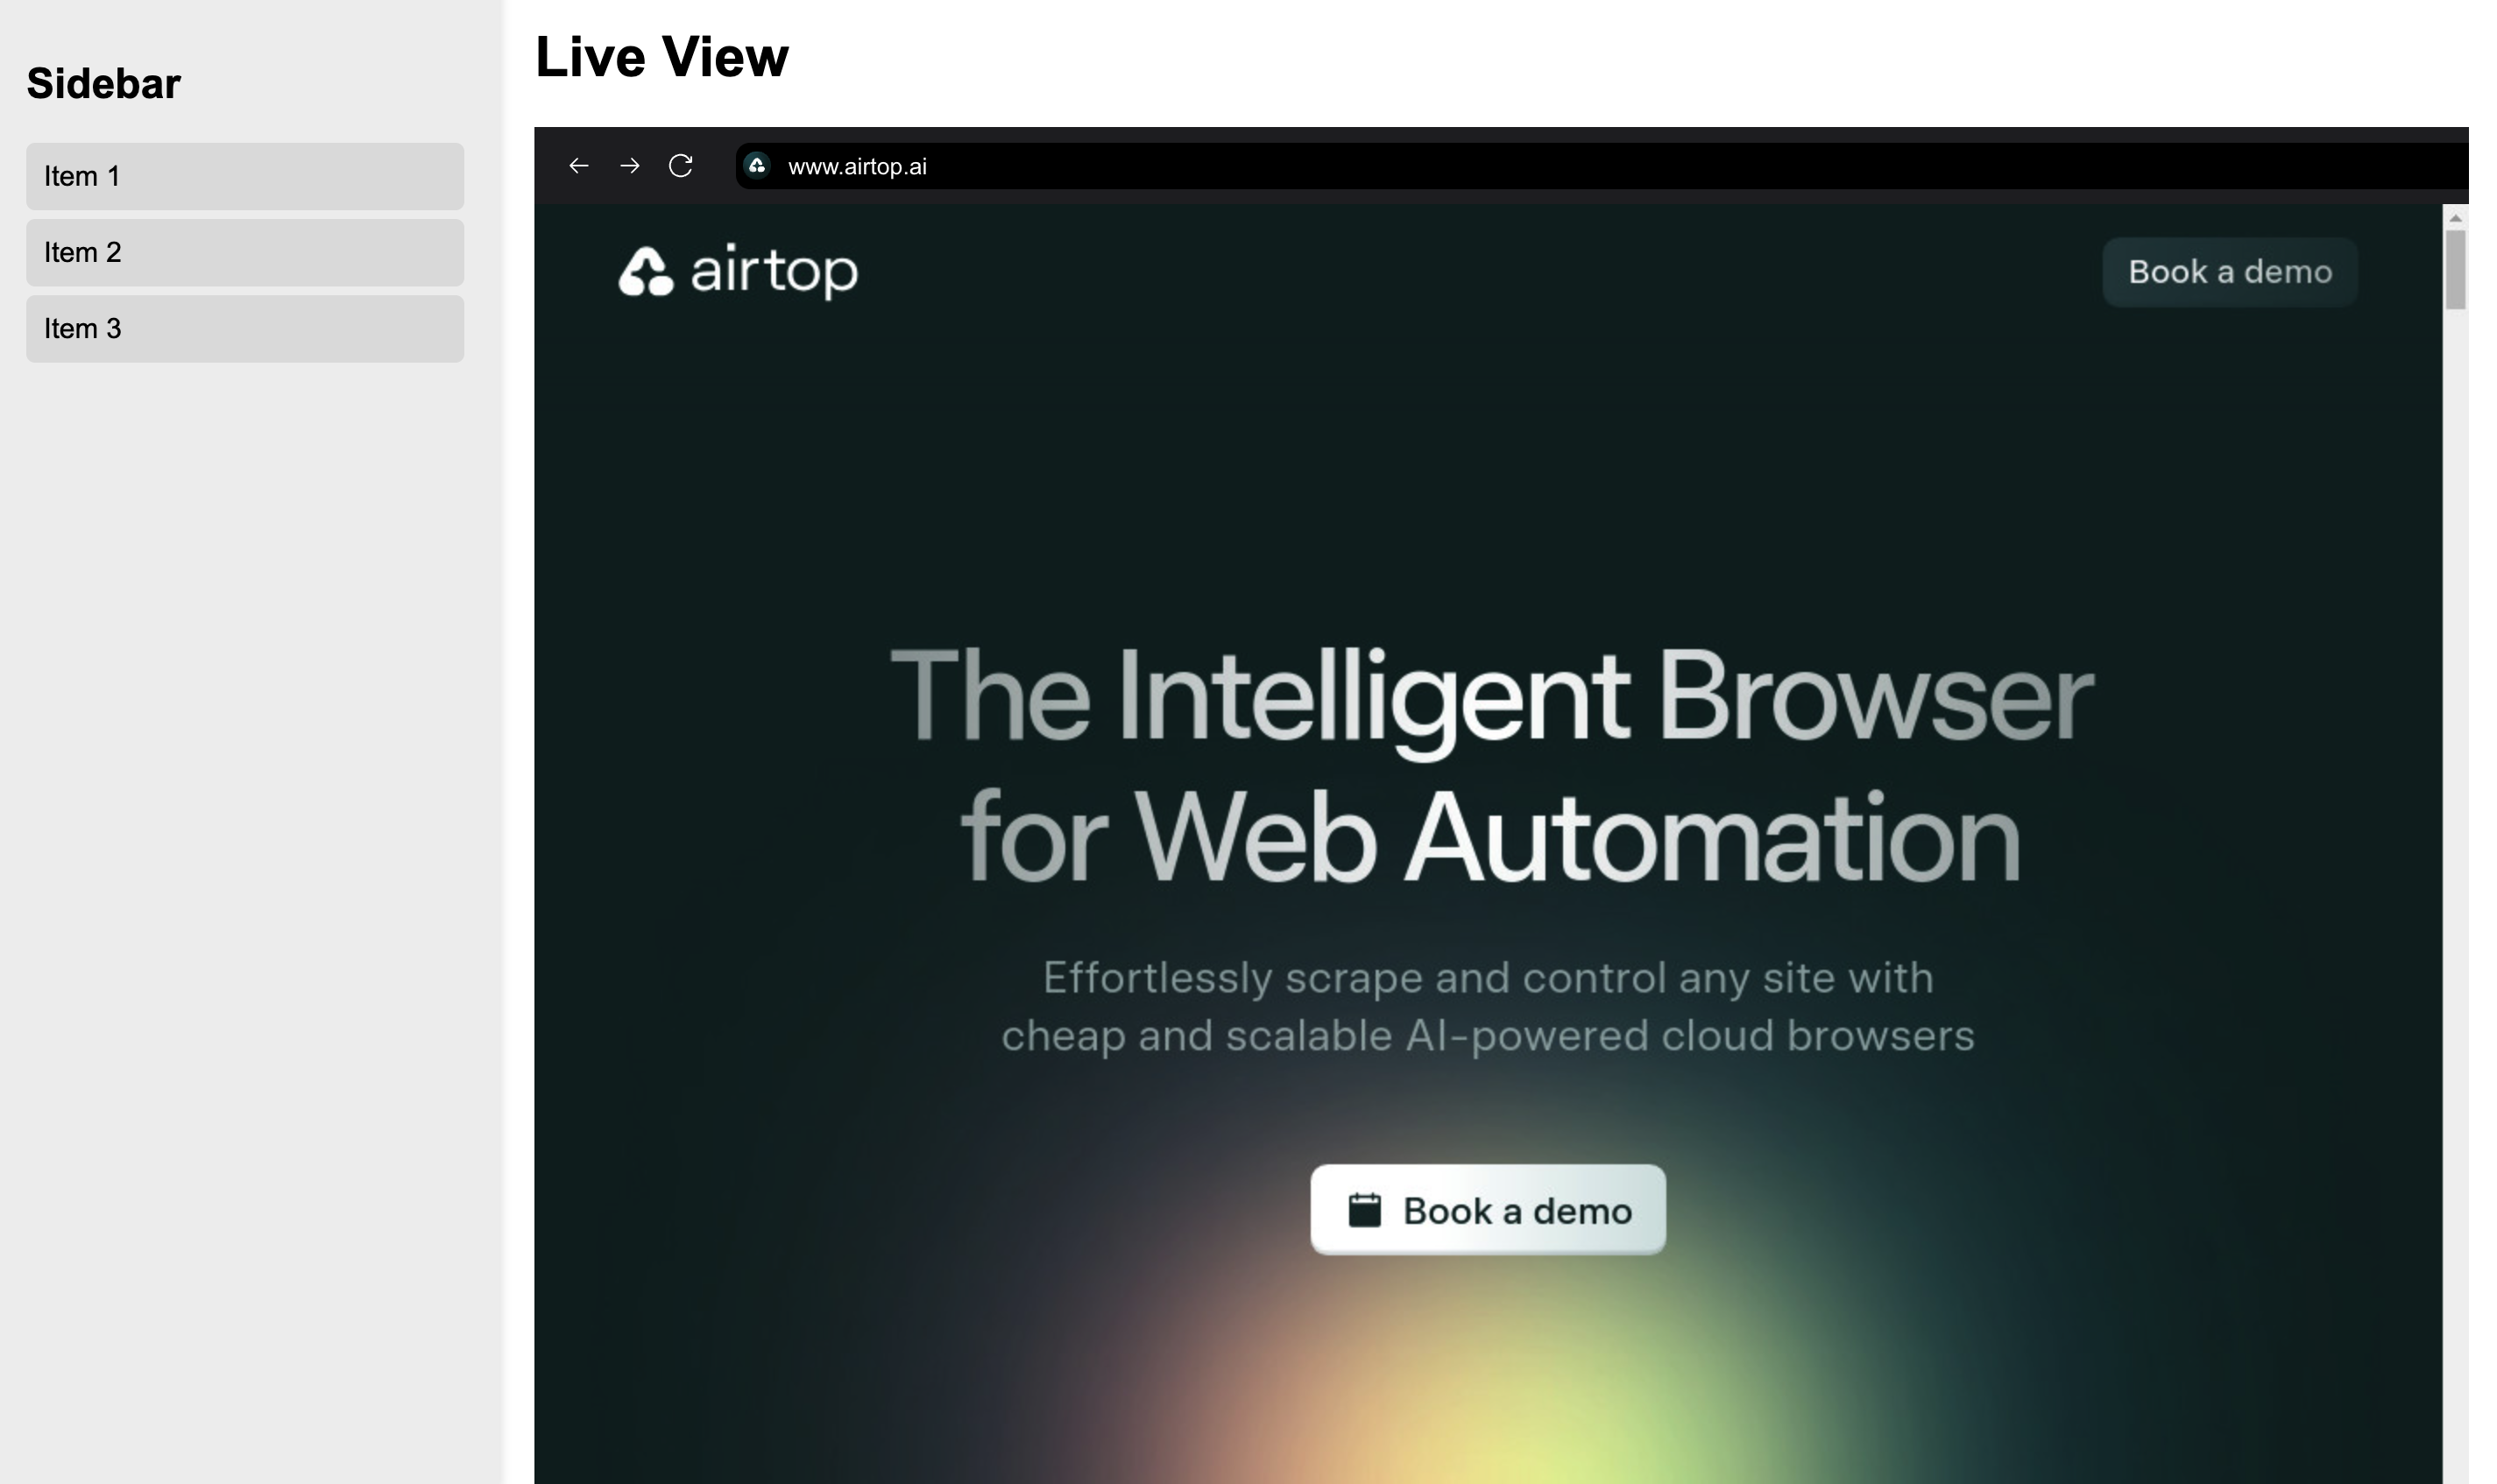
Here’s an example of what an embedded live view might look like in an application:

Step 3
You can optionally set up the live view to include a navigation bar, which will provide a URL bar and other controls to the user.

Step 4
If you would like to receive messages from the Live View, you can set up a message listener in your application to let you know when certain events occur, such as when the page url changes. Check out the section below on Messages for more information.
Controlling the Live View’s dimensions
By default, the live view will resize to fit the wrapping iframe or window. You can control the Live View’s size by simply adjusting the iframe’s dimensions and the browser contents will resize to fit. However, you may also choose to set the screen resolution and disable resizing as shown below.
Messages
The Live View iframe and parent window can communicate with each other via the window.postMessage API.
Each message has an eventName field that indicates the type of event, and some messages have a payload field containing relevant data.
To send and receive live view messages, you will first need to install the Airtop SDK for your frontend JS/TS app.
Message handling in the parent window
You can set up a message listener in your application to handle messages from the Live View as shown below.
Whenever a relevant event occurs in the live view, the live view iframe will send a message to the parent window, which you can handle as appropriate for your use case.
Sending messages to the live view
If you need your frontend application to send messages to the live view, you can use the postMessage API as shown below. Typically, if you use the built in navigation bar, you won’t need to send messages to the live view, but if you have a custom navigation bar, you may need to use this mechanism to control the live view. Of course, your backend service can always control the browser and any changes will be reflected in the live view for your end users.