Make
Overview
Make is a platform for building and deploying no-code automations. Airtop can be easily used inside Make to access content from the web and interact with sites. In addition, Airtop can be used to have your users authenticate into any sites and allow the automation to subsequently use the site.
Creating your first automation
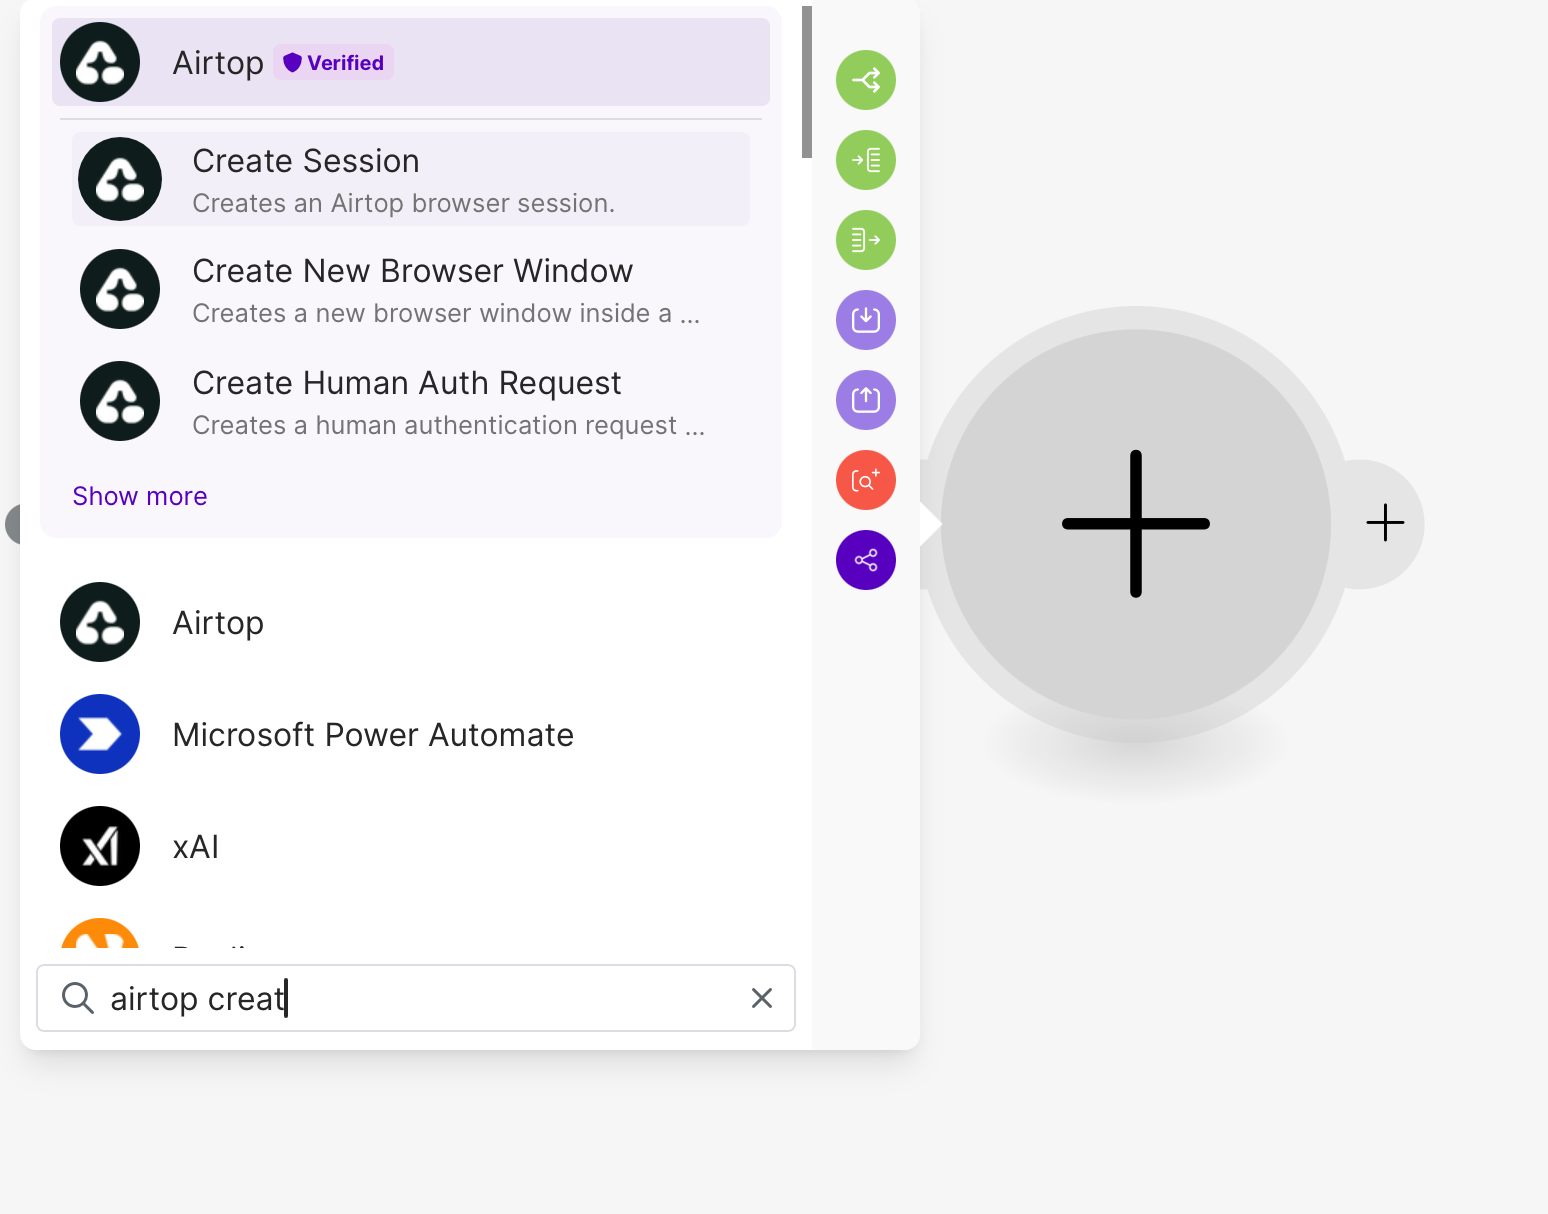
To install Airtop in Make, simply search for “Airtop” when adding a new module.
Let’s build a simple automation that will navigate to the Banana Wikipedia page and ask a simple question about the page.
Insert a Page Query module into your automation and configure it as follows:
-
Create a connection, which will prompt you to add your Airtop API key. You can get your API key from the Airtop Portal.
-
Select the
Automatically create a sessionoption. -
Enter the URL: https://en.wikipedia.org/wiki/Banana
-
Enter the prompt:
What is this page about in 5 words?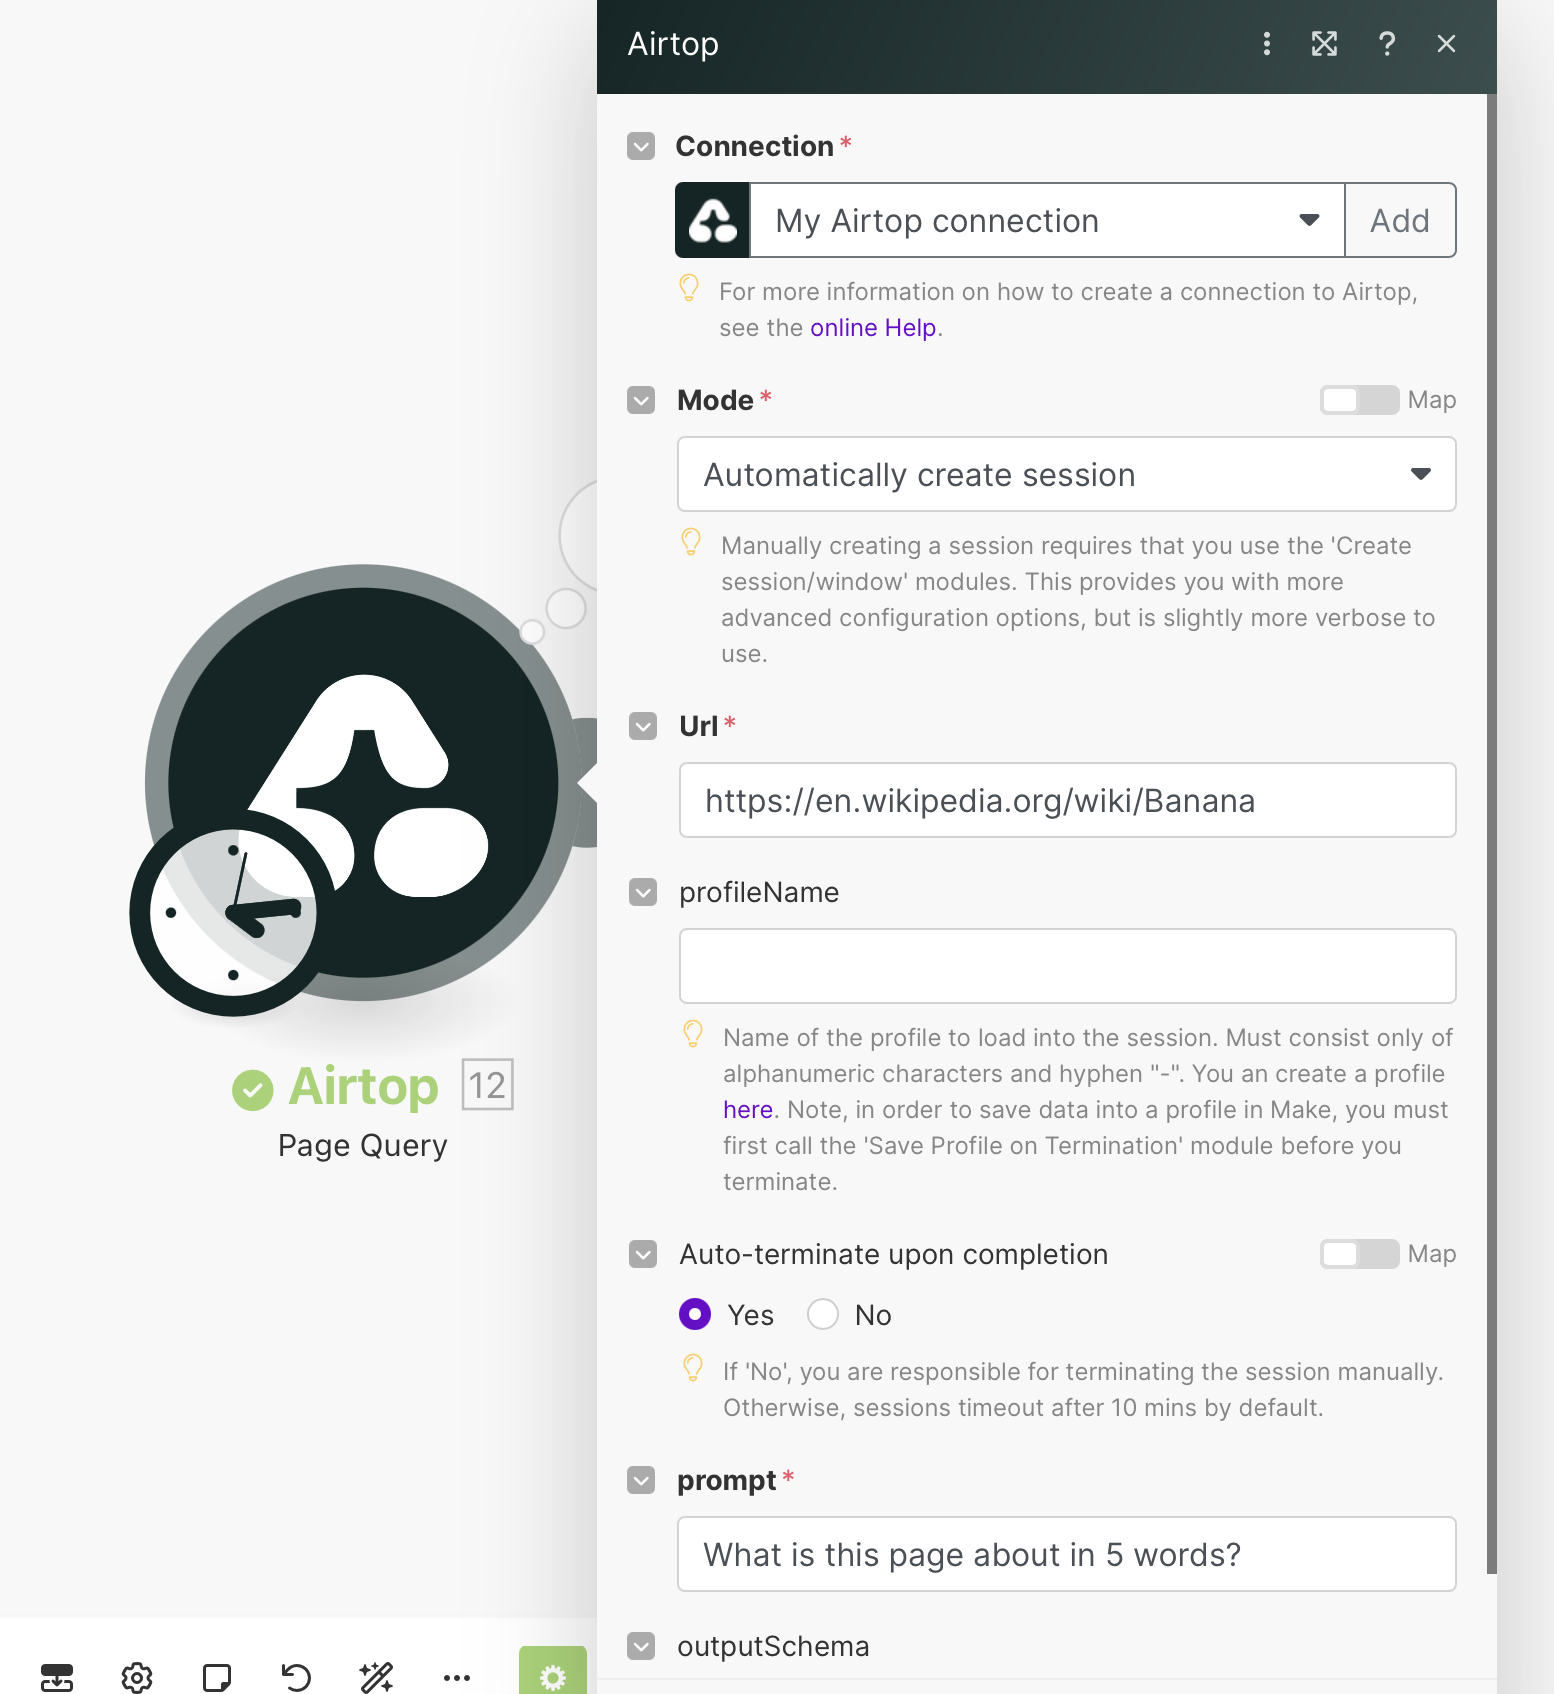
-
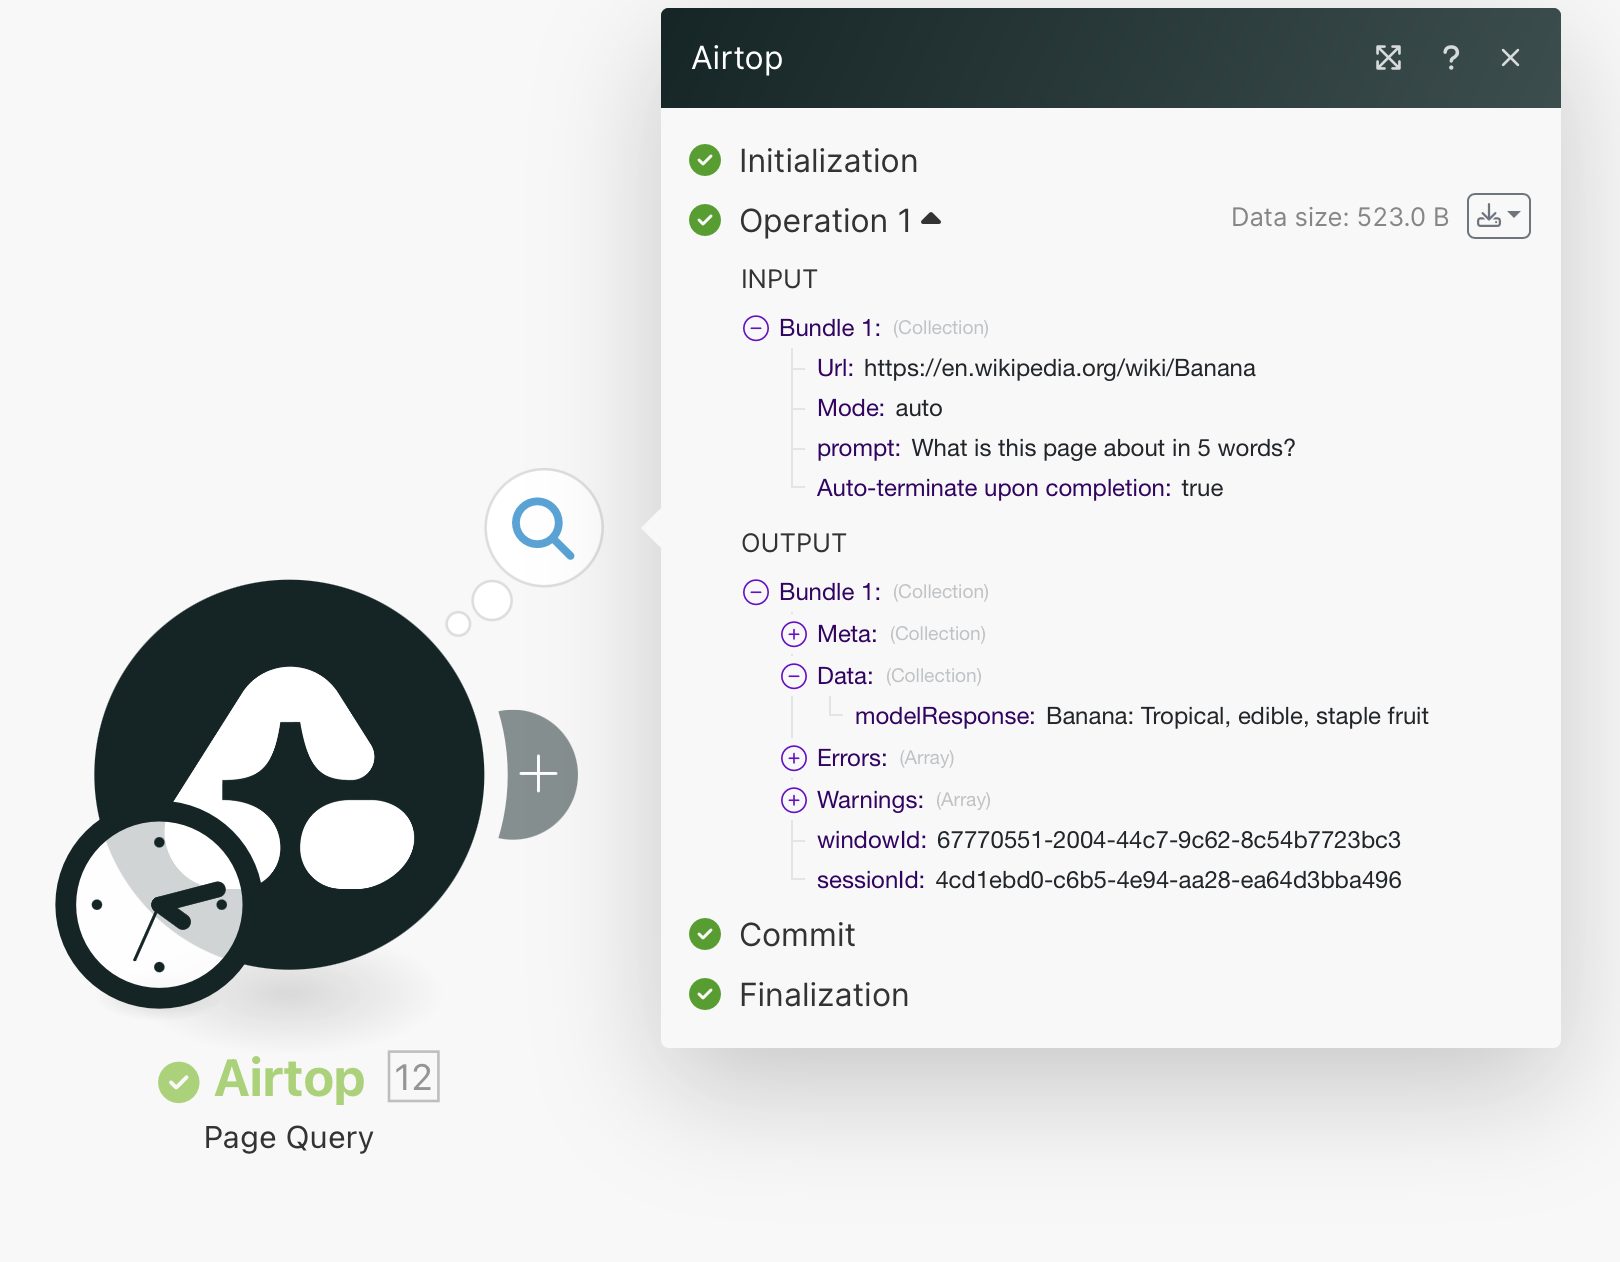
Run the automation.
The output of the Page Query module will contain the answer to our question.
More advanced use cases
The above example automatically creates a session and terminates it after the page query is complete. You can manually create a session, a window, and terminate it if you want more advanced options and control. Some instances in which you might want to do this are:
- You are saving profiles during the automation
- You are using a residential proxy
- You want to configure the timeout of the session
- You want to create a Live View before you run any actions on the session
Authentication
One common use case for Airtop is to have your users authenticate into a site, save a profile for the authenticated session, and subsequently allow your automation to use the authenticated profile to perform actions autonomously.
There are 2 ways to accomplish this flow:
- Manually navigate to the profile page, generate a profile under a name, and use the profile name in the modules. For more information, check out the Saving a Profile guide.
- Implement an E2E flow that detects if the users is not authenticated, creates an authentication request, and then proceeds with the main flow once the user is authenticated. This option allows you to asynchronously send your users authentication requests if necessary.
E2E Authentication Flow
In order to accomplish this flow, you need to interrupt your automation flow and generate an authentication request to send to your user. Here is an example of a flow that accomplishes that.
This flow logs into the OpenAI platform site and fetches the monthly spend for the current and previous month.
We need to create 3 scenarios in order to accomplish this flow:
- The primary scenario that checks if the user is authenticated, branches to the authentication flow if necessary, or accomplishes the main task if the user is authenticated. If the user is not authenticated, it will create an authentication request and send it to the user.
- A scenario that creates a session for authentication when the user initiates the authentication flow.
- A scenario that terminates the session for authentication and saves the profile to be used in the primary scenario.
Because the authentication flow is highly asynchronous, we have to split the flow into 3 scenarios and connect them via webhooks. This is a limitation of Make’s platform.
Primary Scenario
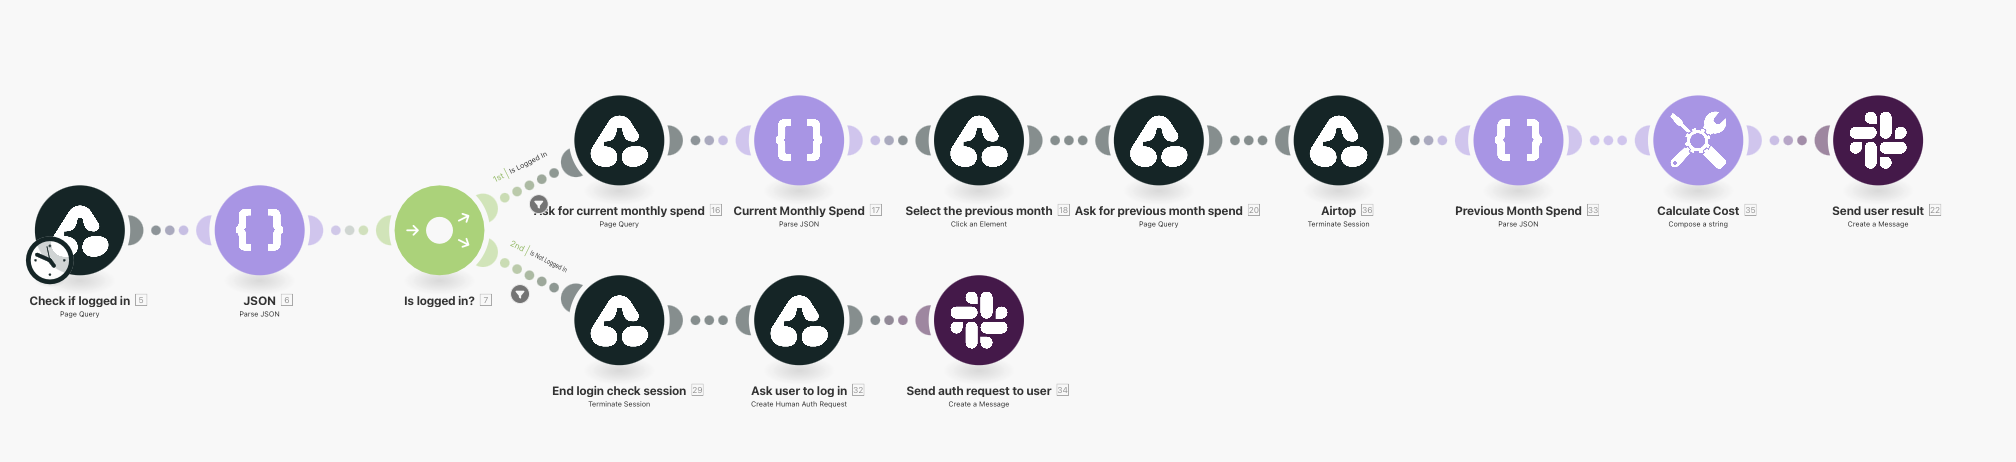
This scenario is the main entrypoint for the automation. You can schedule this scenario to run on a regular basis, or you can run it manually. It starts by checking if the user is authenticated. If the user is authenticated it will proceed to the top branch of the flow and fetch the monthly spend for the current and previous month. If the user is not authenticated it will proceed to the bottom branch of the flow and create an authentication request. This first session uses a Profile Name to use a saved profile.
In order to create an authentication request, we’ll need to use the Create Human Auth Request module. This module will create an authentication request and send it to the user. In our case we use Slack to send the request to the user, but you can use any other mechanism you like.
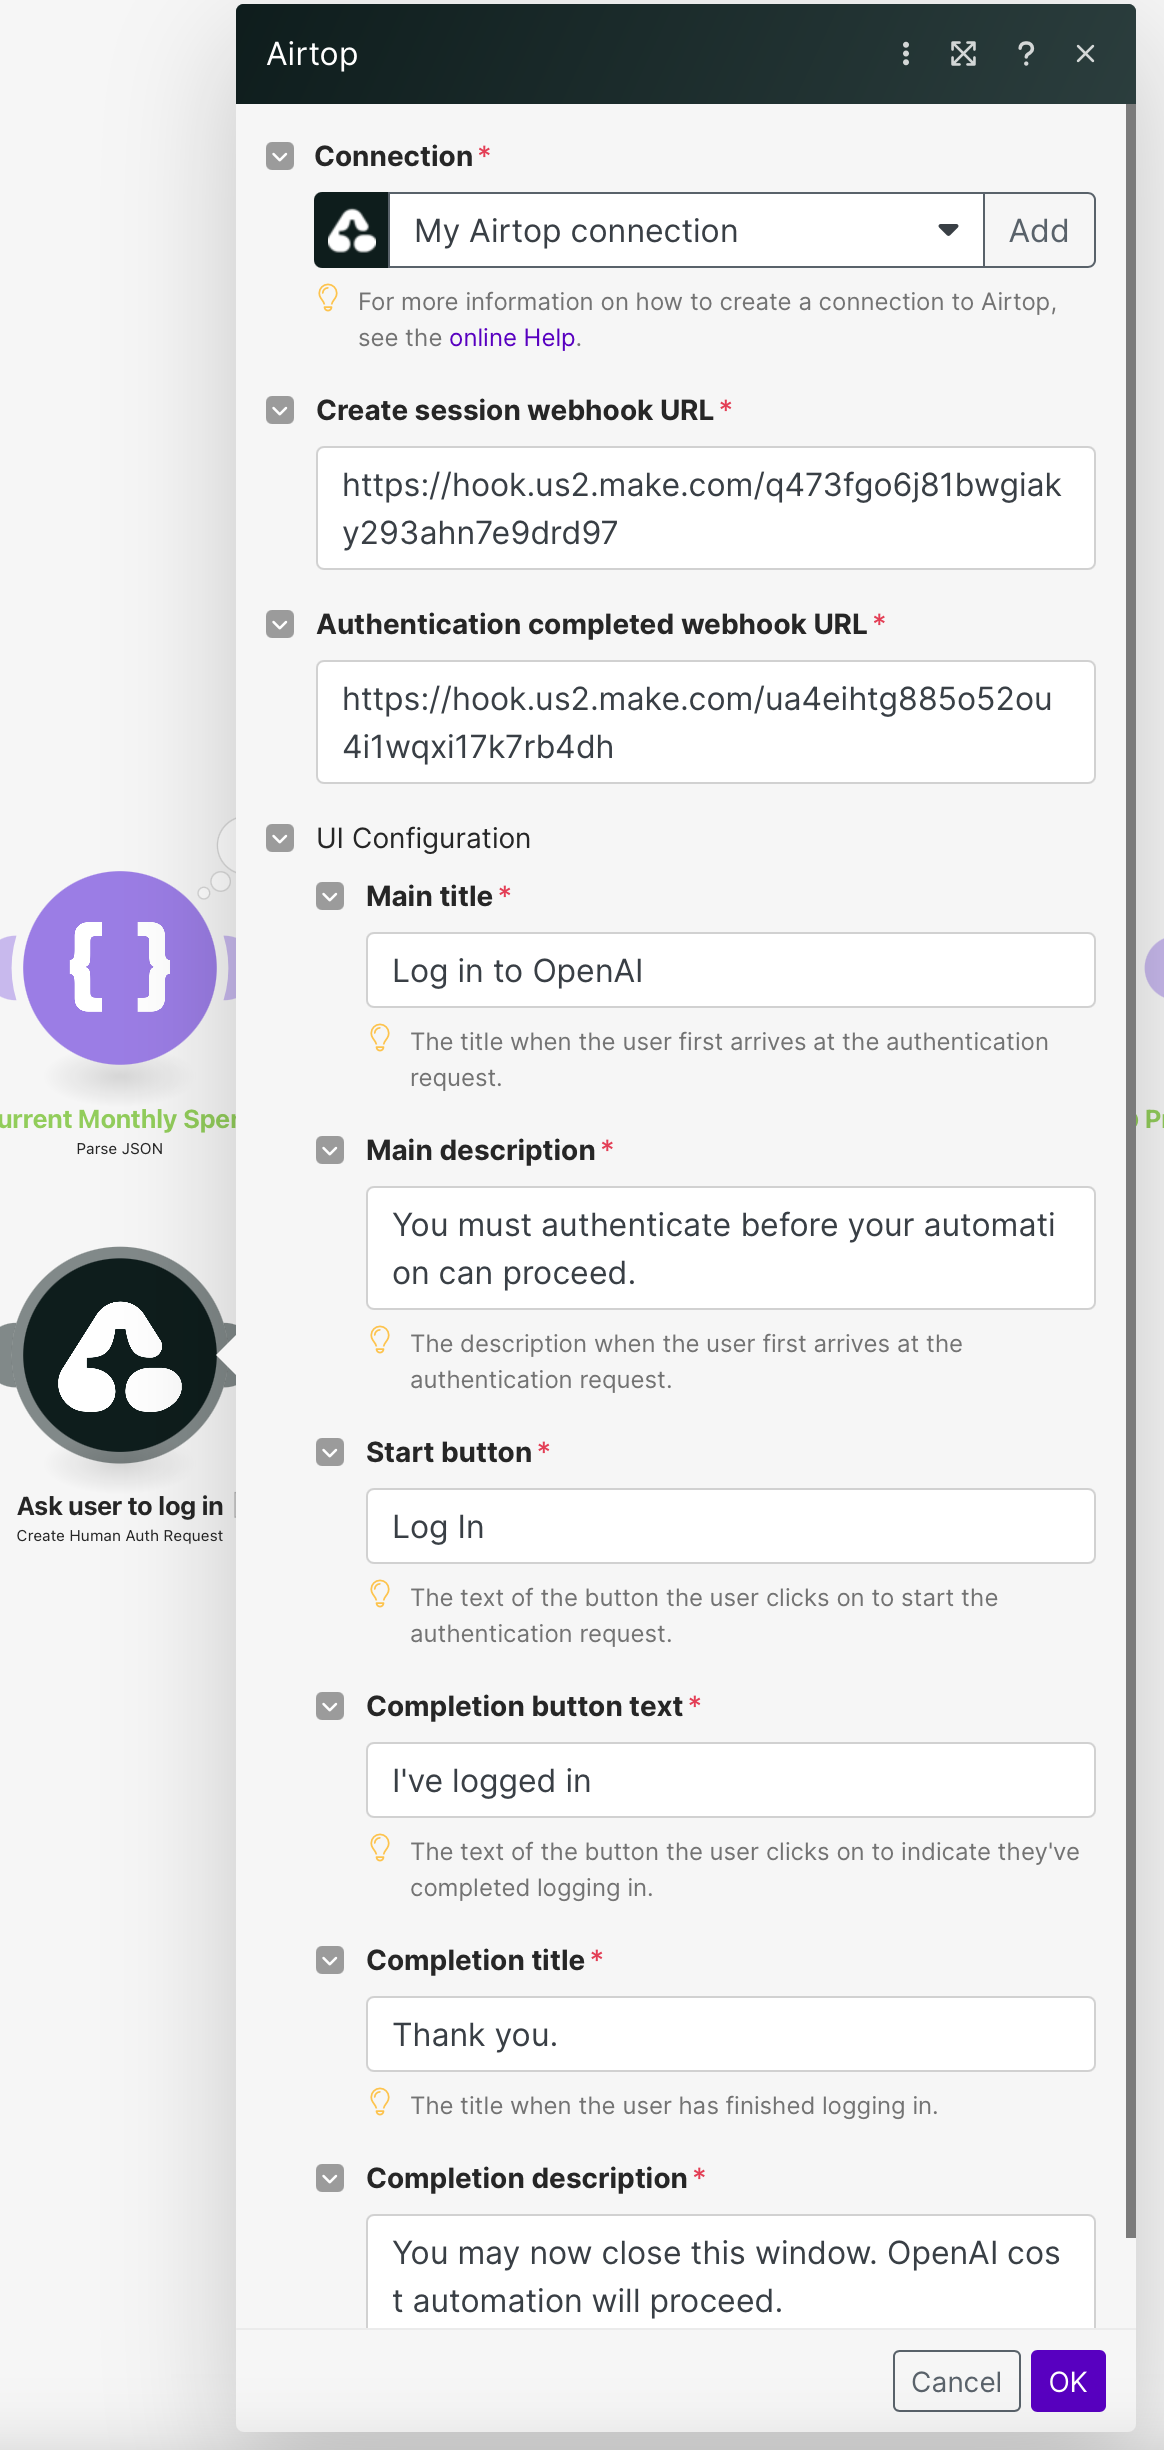
This module allows you to customize the UI presented to the user. The most important part are the 2 webhook URLs. These webhooks get called when the user either initiates or completes the authentication flow. We’ll create each of these webhooks in the next 2 scenarios.
The output of this module is an authentication request ID and URL. You will need to send the URL to the user. It will look like this: https://portal.airtop.ai/integration-auth?id=123e4567-e89b-12d3-a456-426614174000.
Authentication Request Scenario
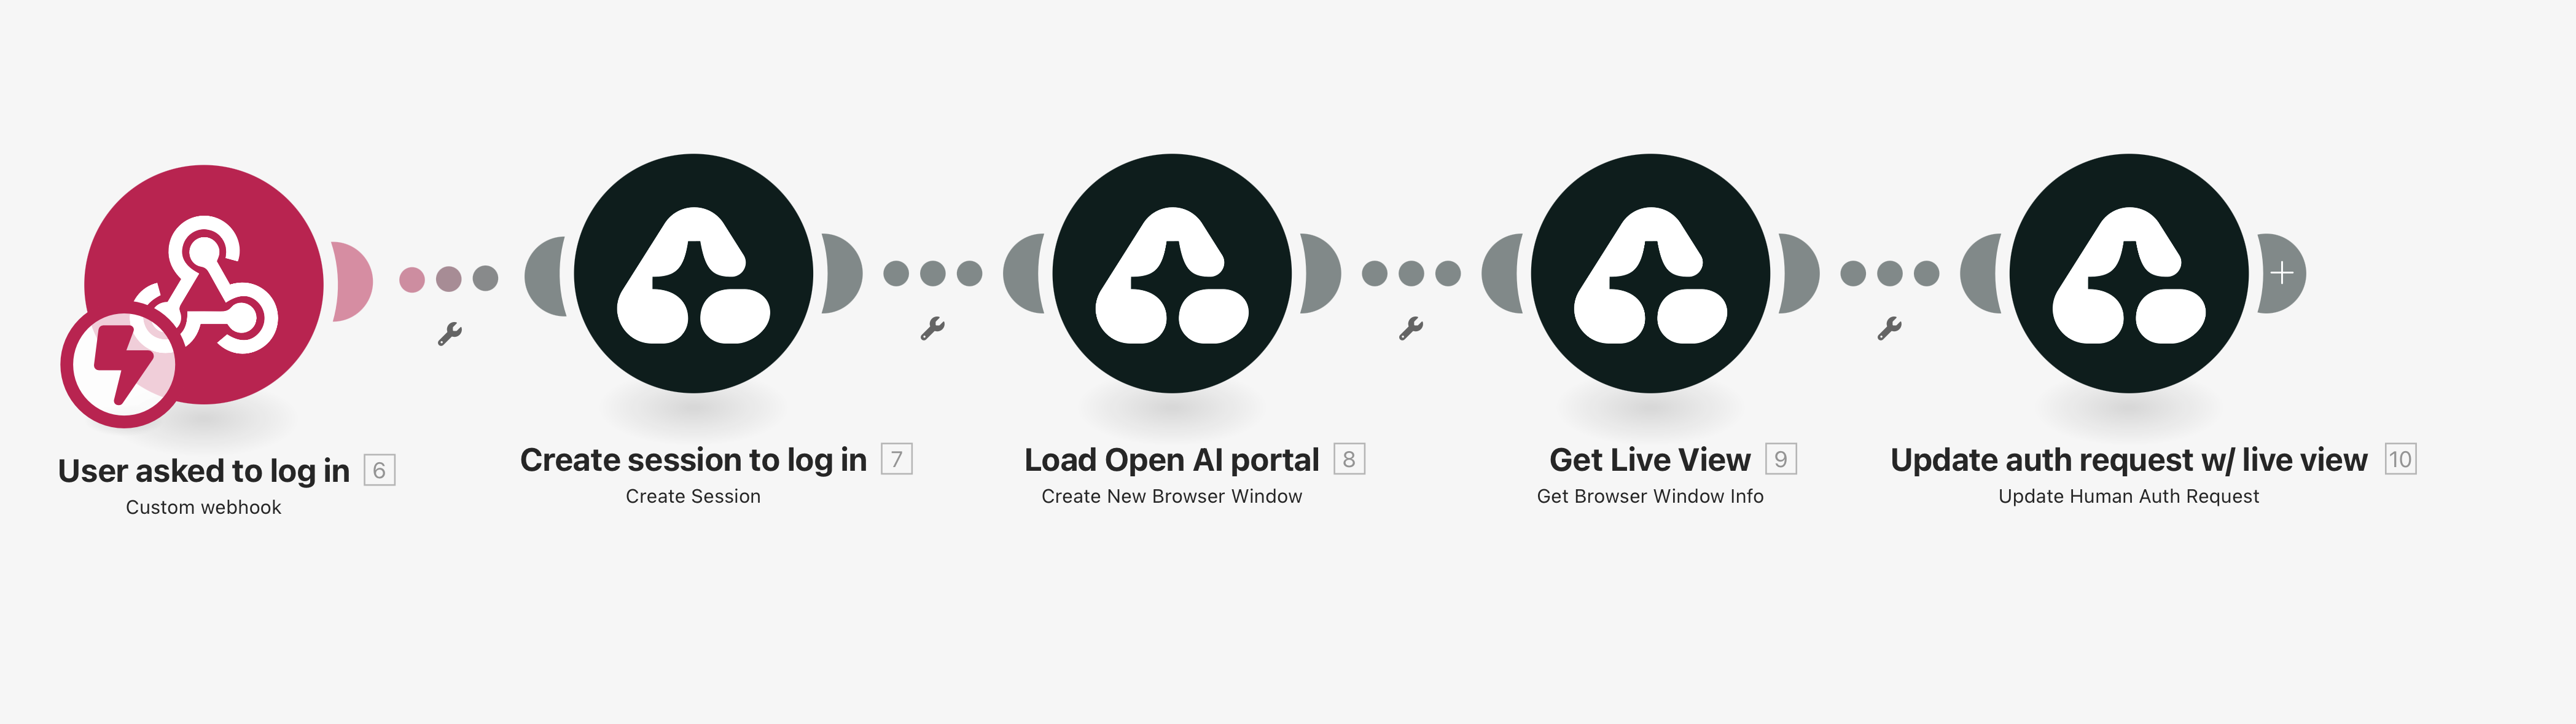
The authentication request scenario starts with a Webhook module. This webhook URL should be the first webhook you use when creating the authentication request in the primary scenario.
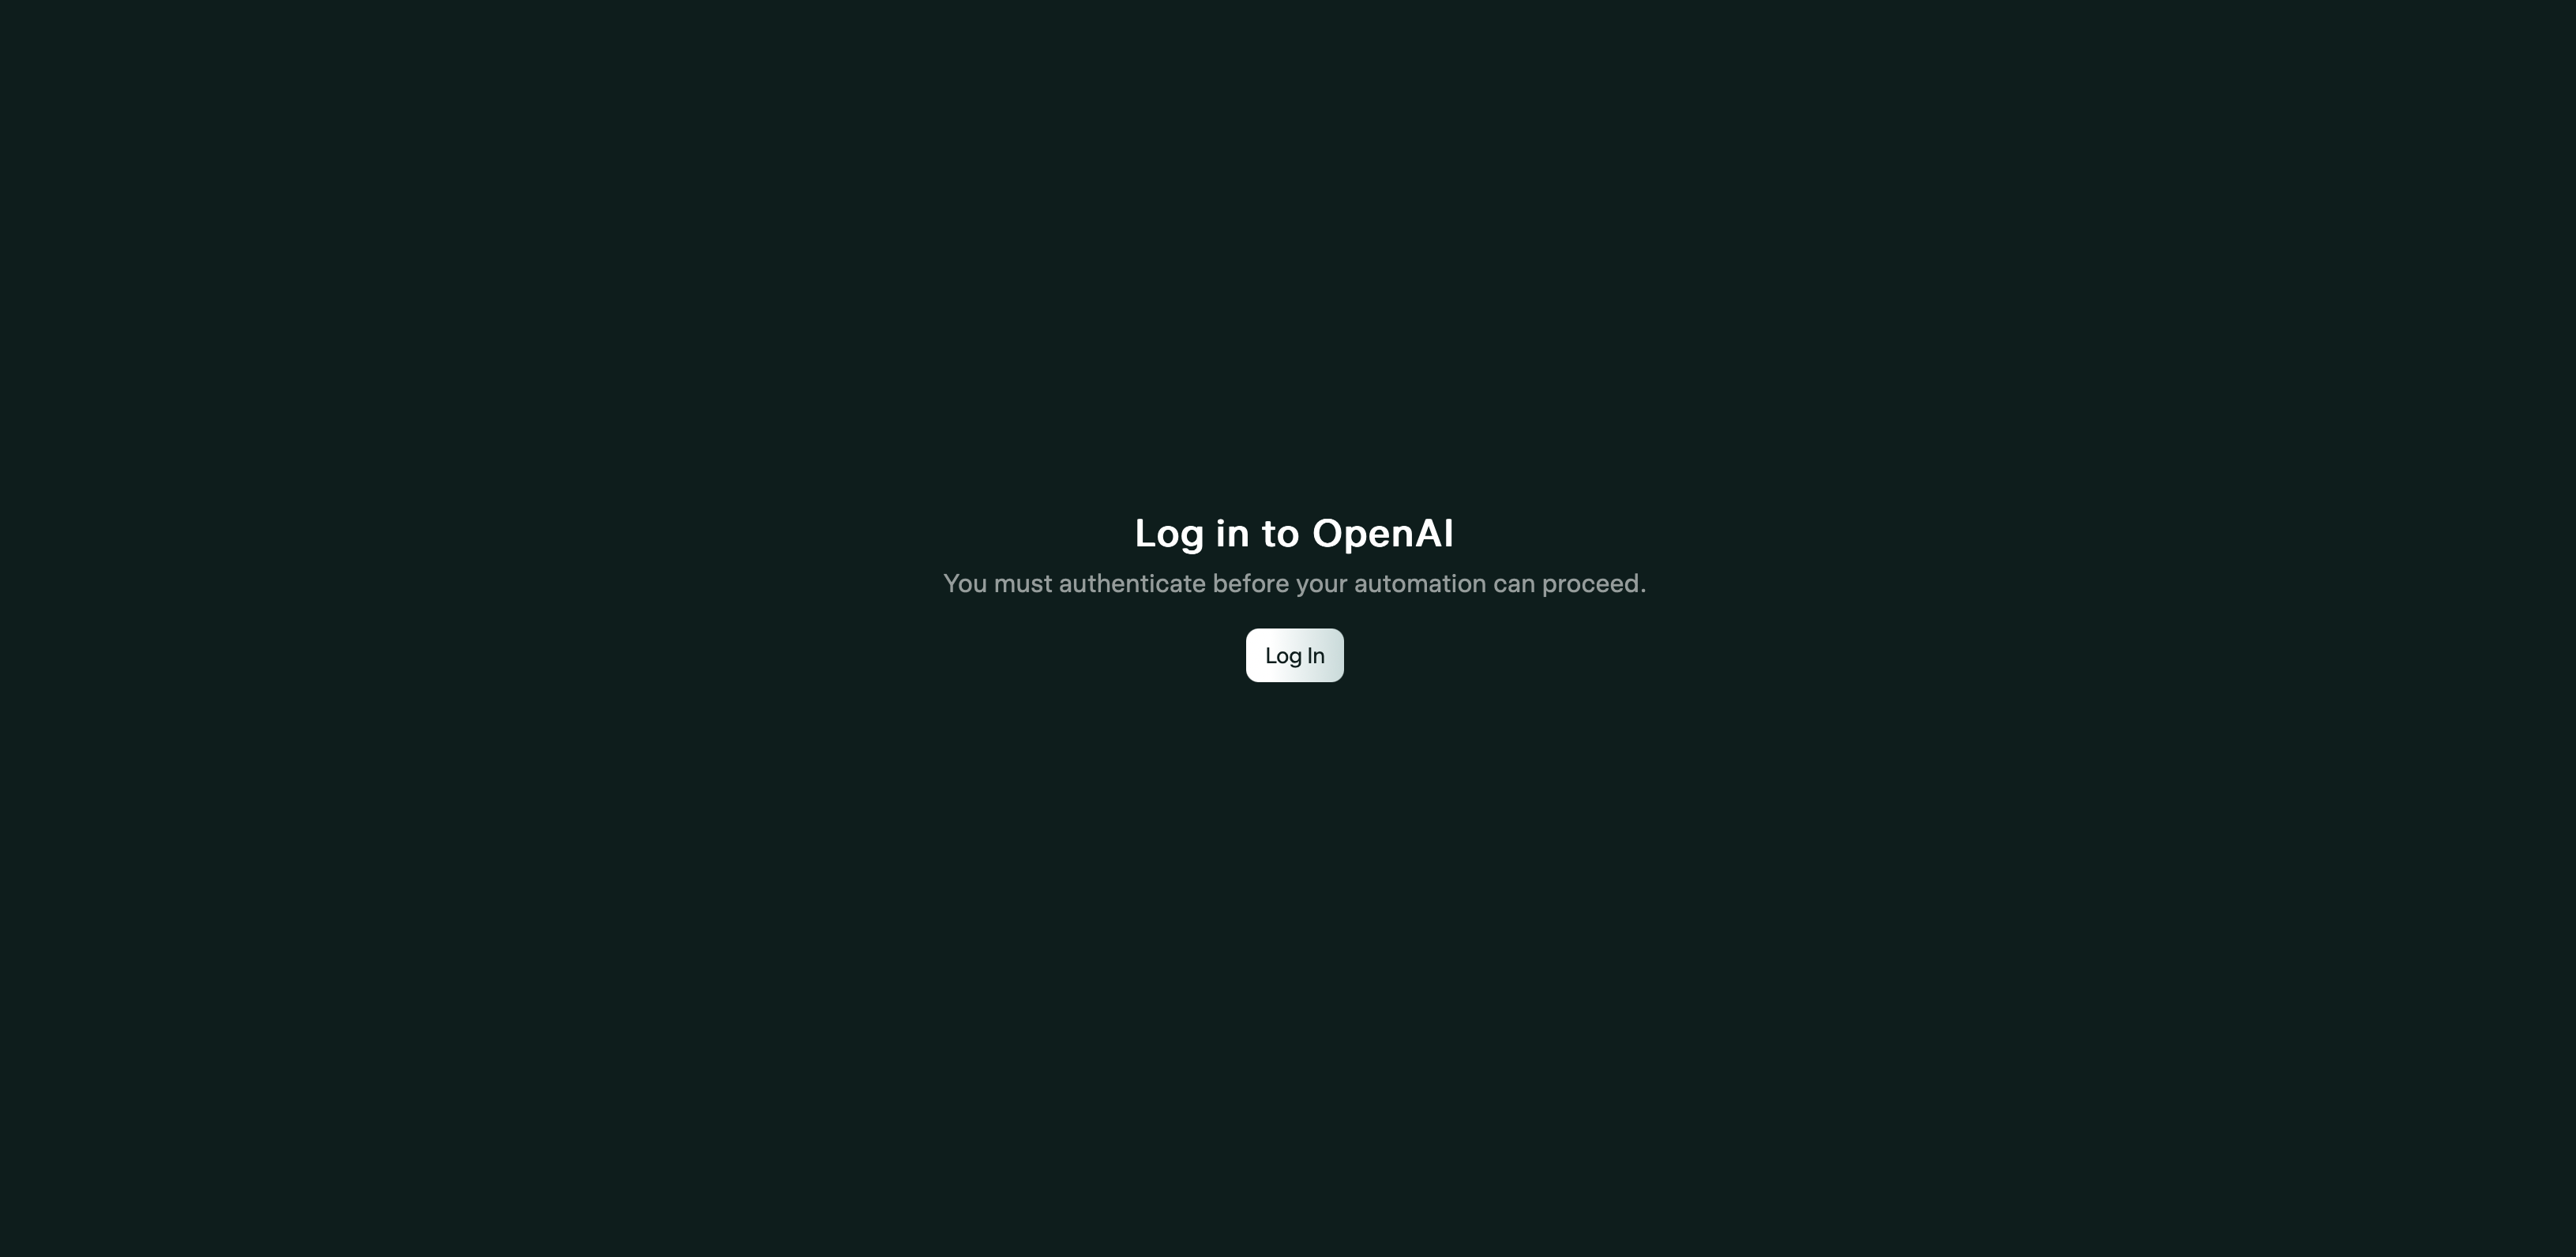
Upon opening the auth link, the user is presented with UI that asks them to initiate the authentication flow.
Once the user begins the flow, this scenario is called via the webhook URL. It will create a session for authentication and send the user to the OpenAI platform site to log in using a Live View.
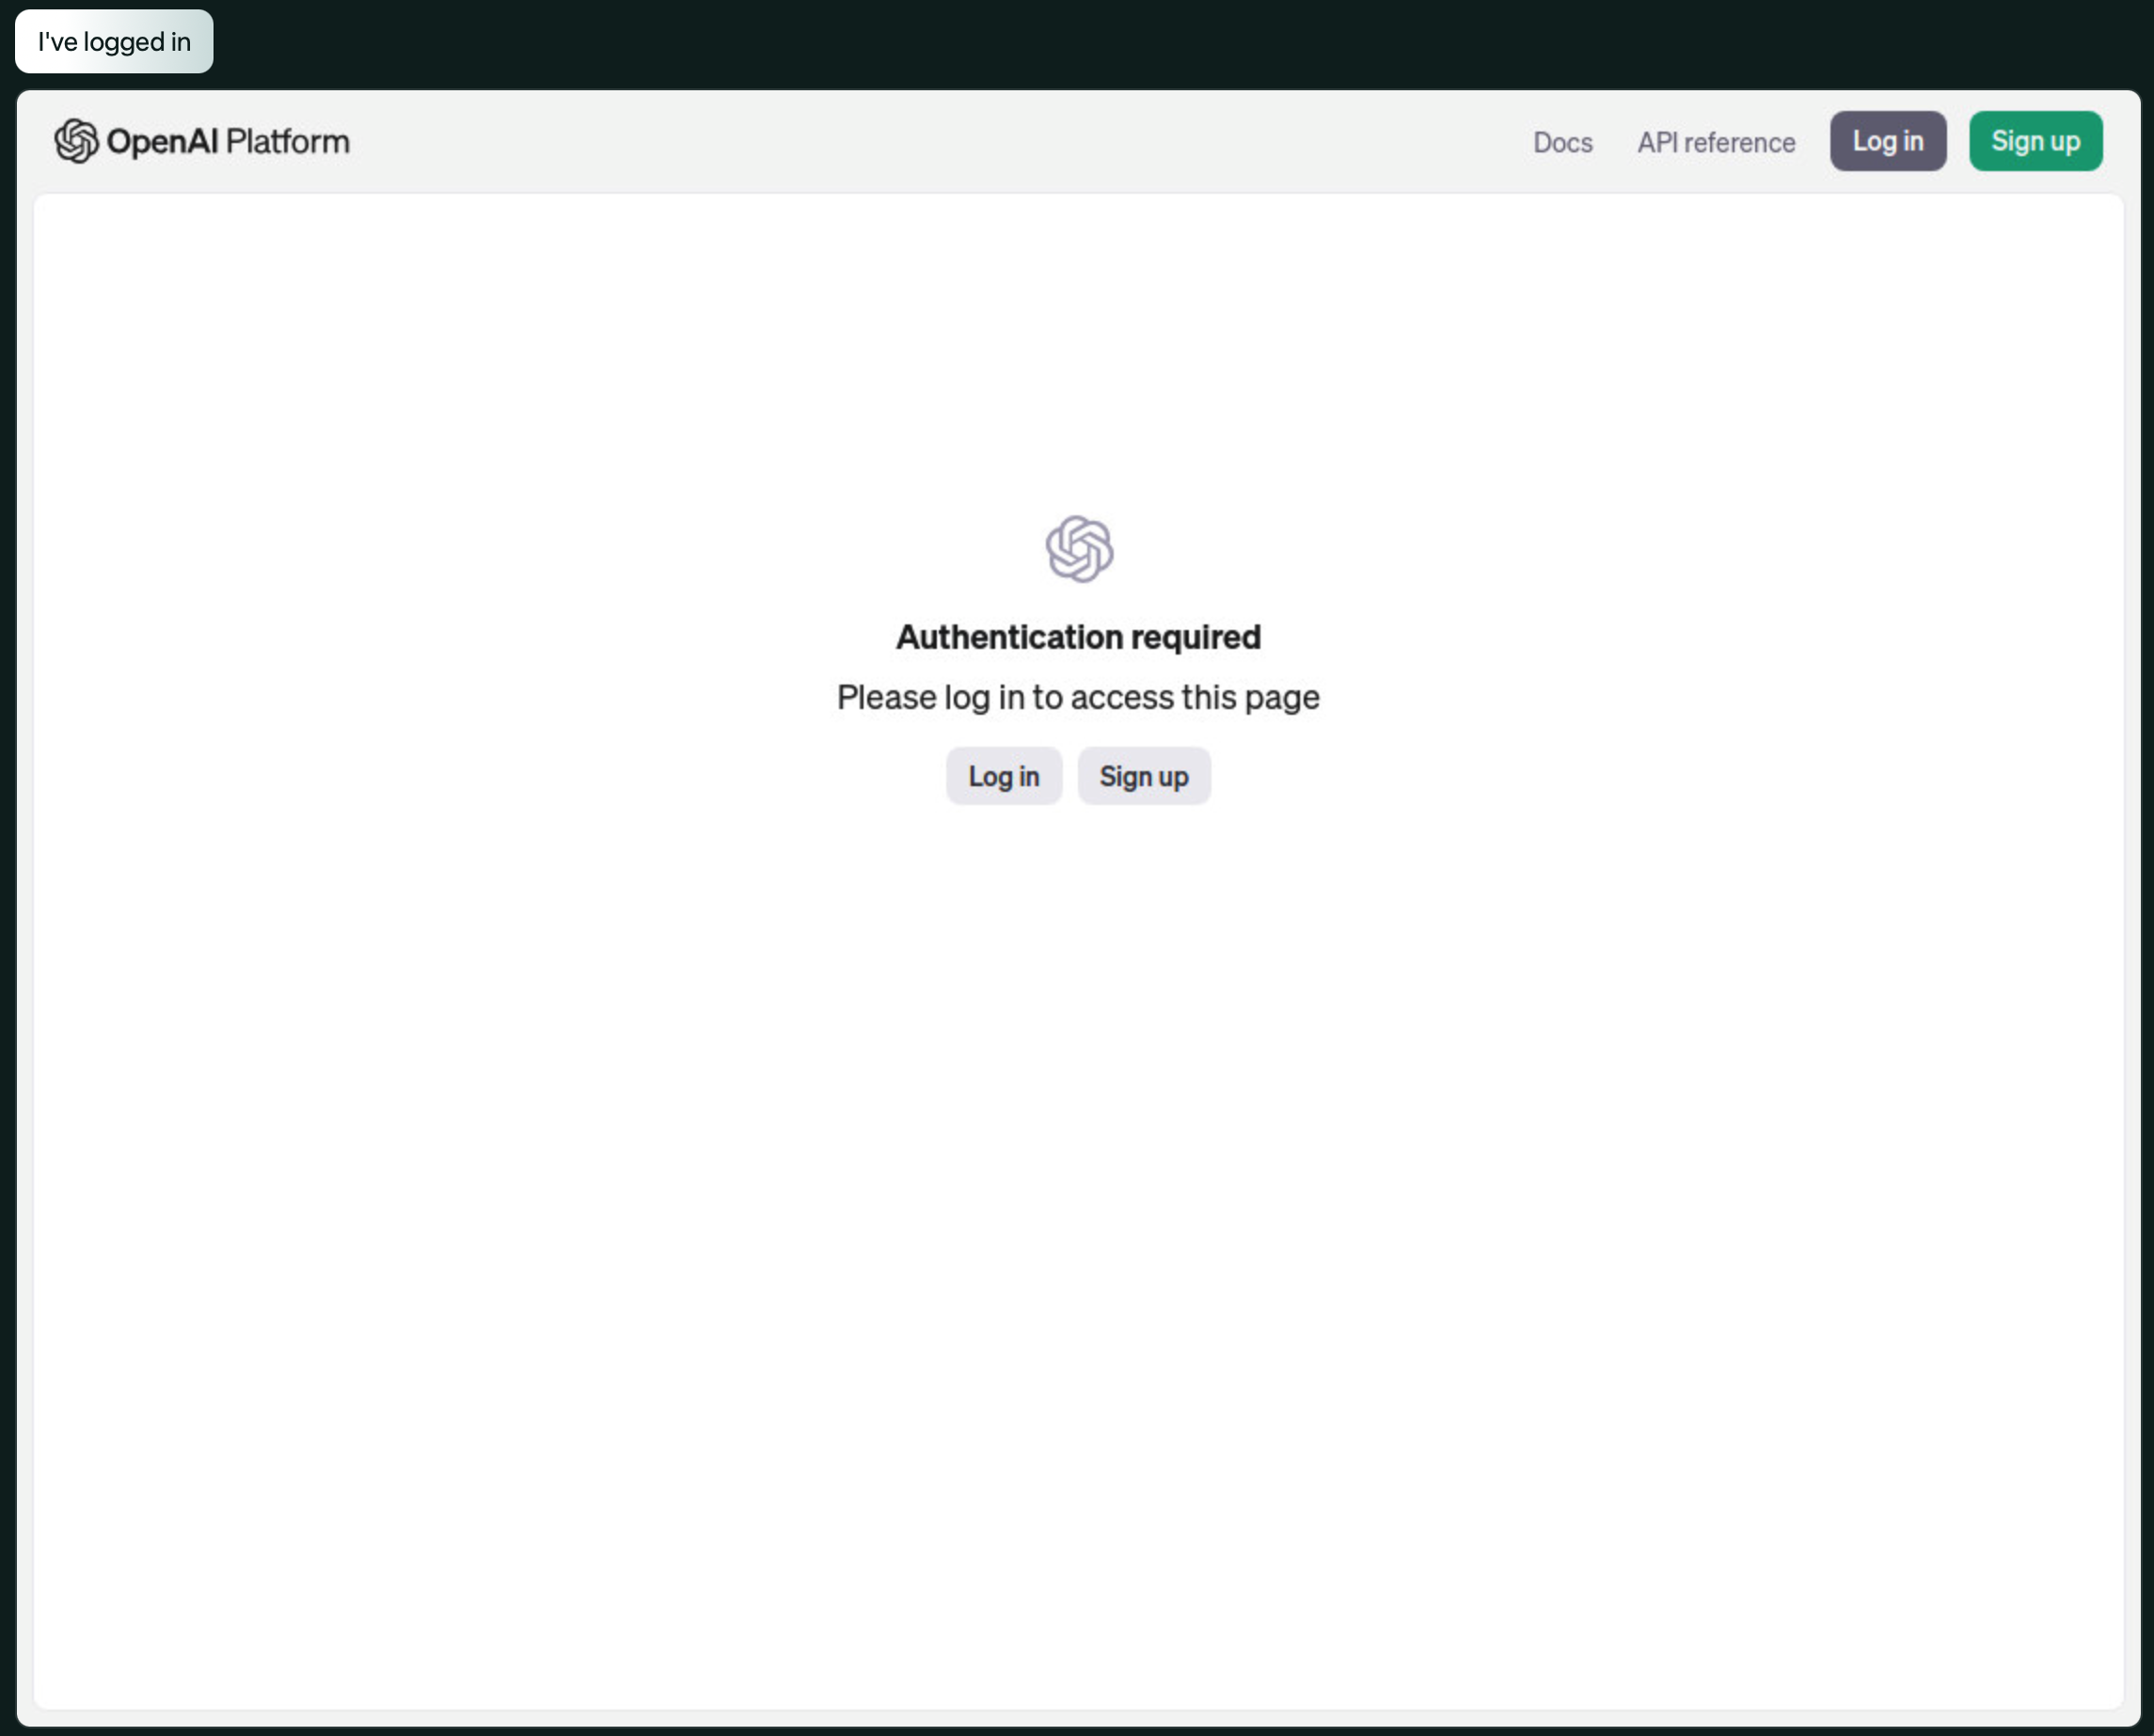
Because the user is not authenticated yet, the user will be prompted to login. This scenario then updates the authentication request with the status of the authentication flow (loaded) and the Live View URL, which is presented to the user.
Authentication Completed Scenario
This scenario begins with another Webhook module. This webhook URL should be the second webhook you use when creating the authentication request in the primary scenario.
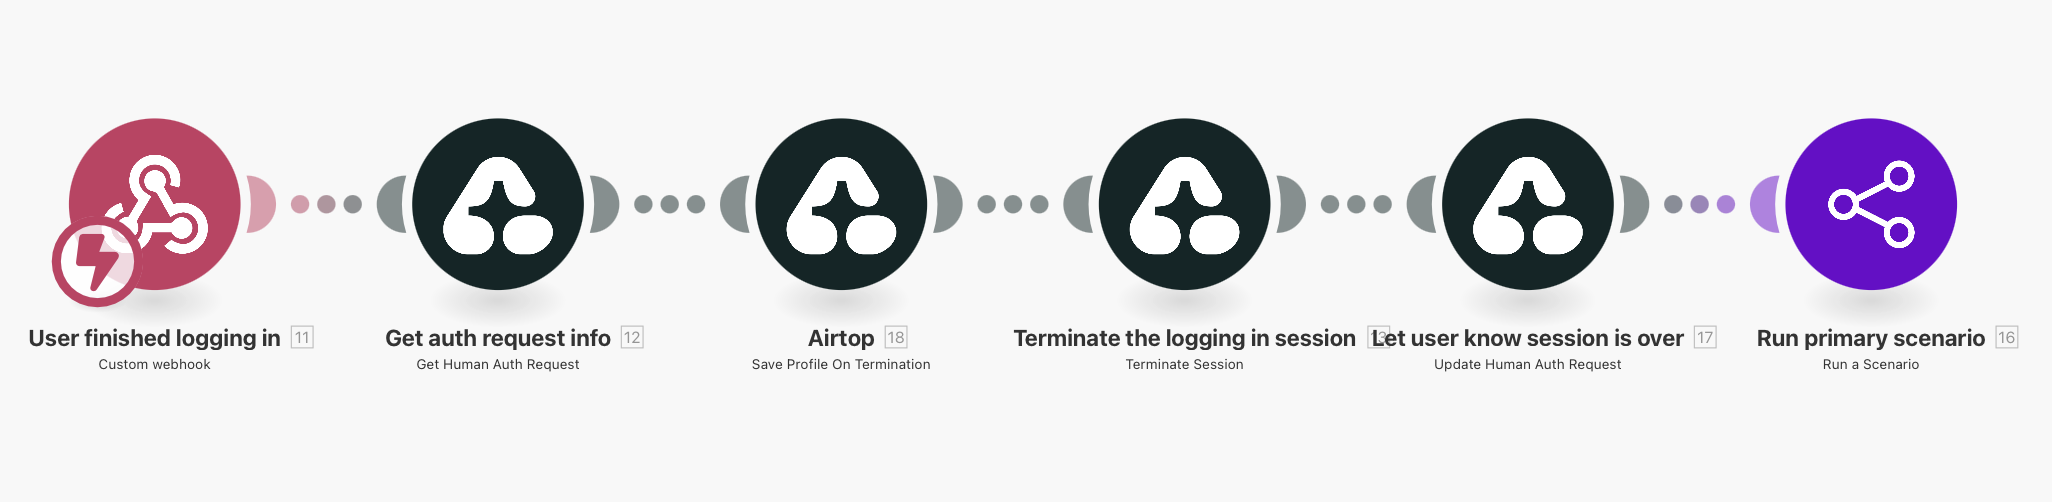
Once the user has completed the authentication flow and clicked on the “I’ve logged in” button, the authentication request 2nd webhook is called. This triggers this scenario that will terminate the authentication session and save the profile. Note, this scenario must call the Save Profile on Termination module with the same profile name you used in the primary scenario.
Once the process is complete, this scenario calls the primary scenario again, which should now proceed to the top branch of the flow and fetch the monthly spend for the current and previous month.